By Katie Carpenter
“Music is life itself.”
-Louis Armstrong
Research has shown that music education has so many benefits for children and their development. Music learning supports brain development, language development and even correlates to better test scores! When making music, children have to use a variety of skills that challenge their brain and thinking, and it is a unique way for them to get to know themselves and build confidence.
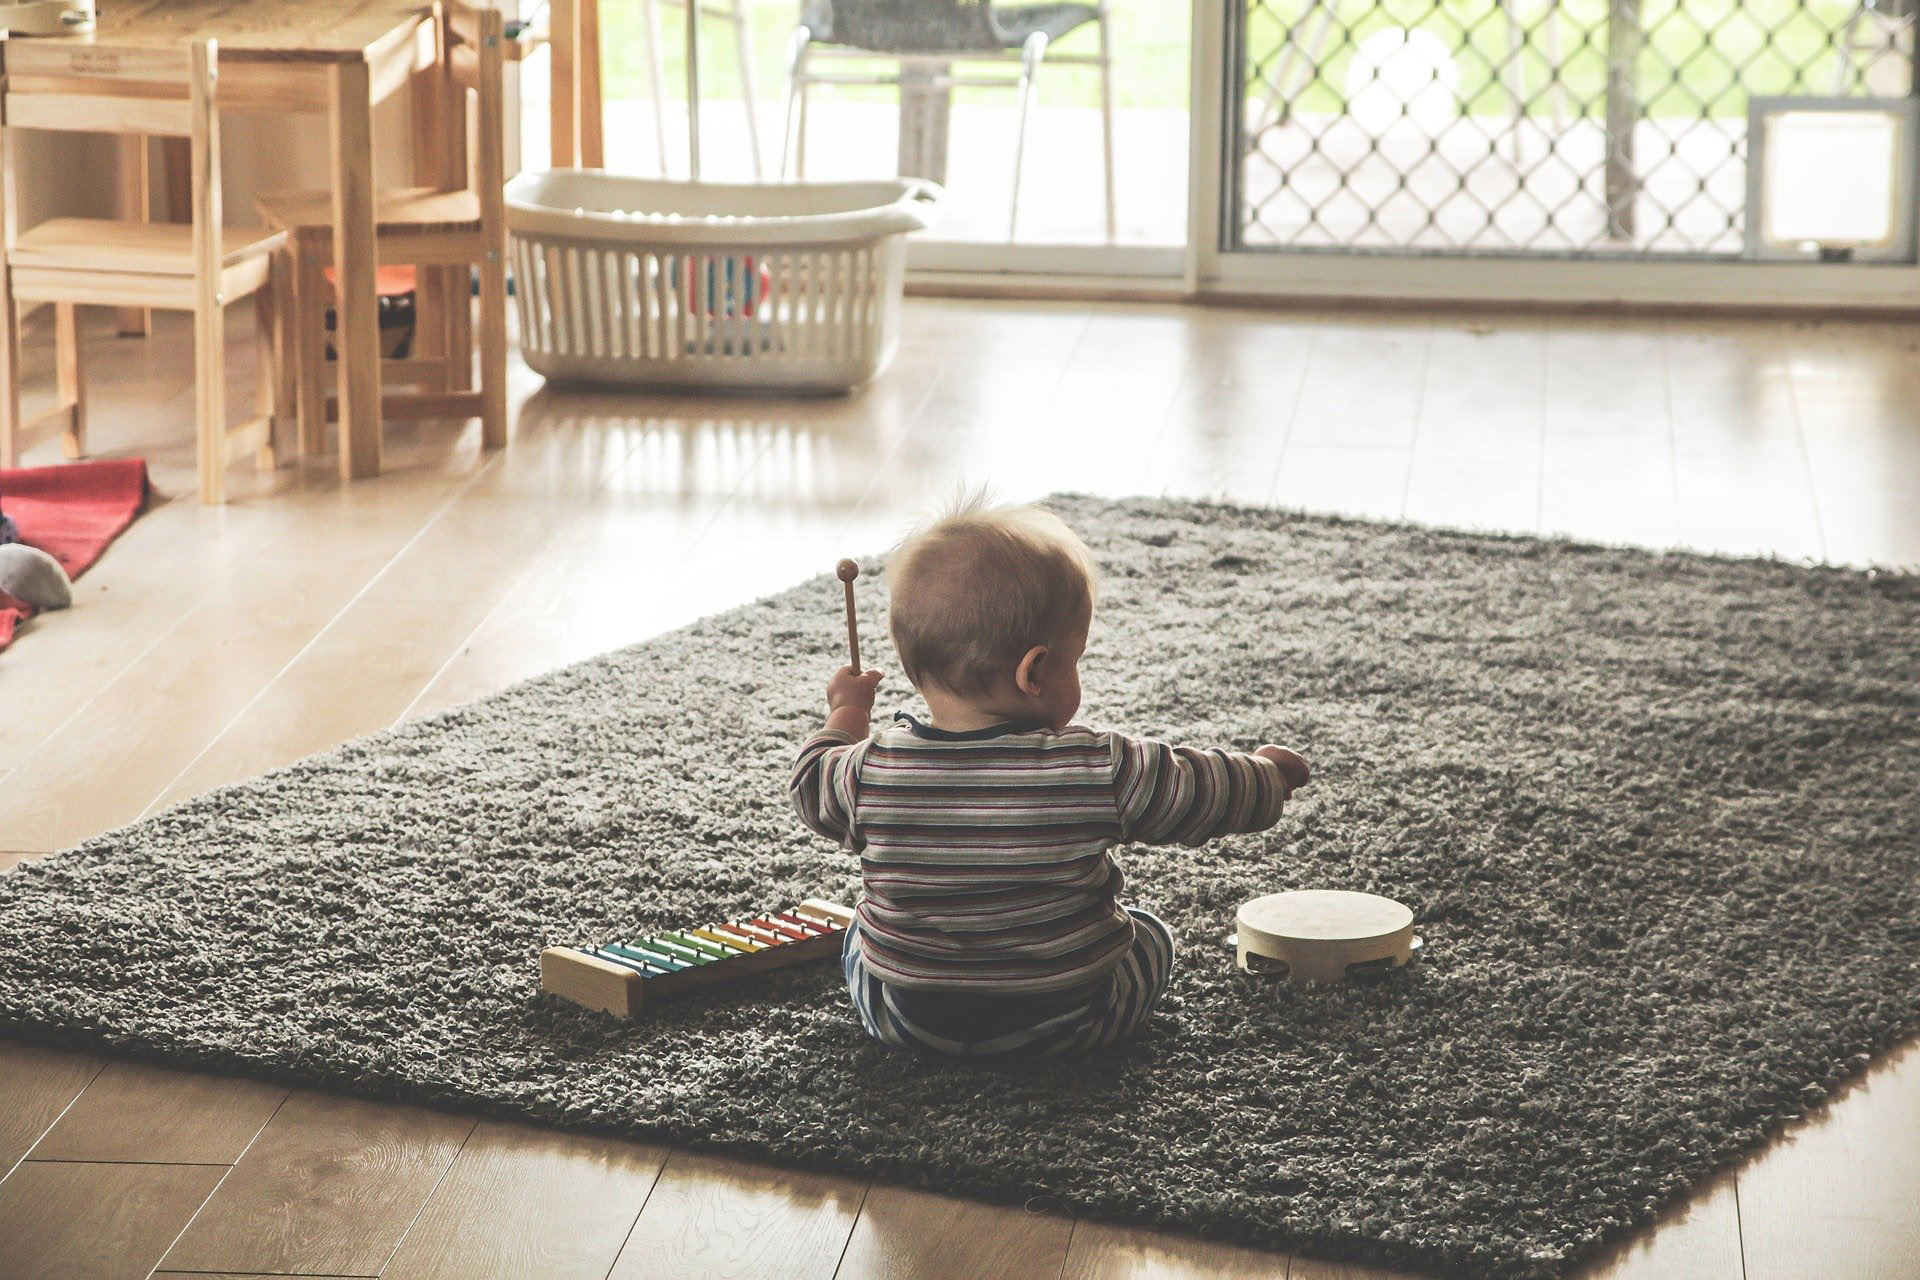
In December, TPT’s Second Saturdays event explored the magic of making music! And what could be more fun than making your very own instruments?
TPT staffer, KaMia, encourages you to try making these yourselves with some very basic household items that she has listed below. Follow along with her in the video to get step by step instructions t make your own guitar, rainmaker and drum!
DIY Guitar
What you’ll need:
- Scissors
- Rubber bands
- Glue
- Tape
- Tissue or paper towel roll
- Kleenex box
- Decorating your box is optional, I painted mine blue
Instructions:
- First Take you rubber bands and wrapped them around your Kleenex box
- Next grab your roll and a grown up to help you cut small lists to one side of the roll
- Now fold them back
- Apply glue to each tab then place the roll on to the Kleenex box
- Now this step is optional but you can add tape to help secure the roll onto the box
DIY Rain Maker
What you’ll need:
- Paper towel roll
- Two fuzzy sticks
- Scissors
- Rice
- Two rubber bands
- Two balloons
- Tape
- Construction paper
Instructions
- First take the furry sticks and slightly coil them
- Now place each stick inside on both ends using tape to hold them in place
- Next, take you construction paper and cover your roll with the paper
- Grab the balloons and a grown up to help you cut the long part of the balloons off.
- On one end stretch the balloon over the opening of the roll.
- Take a rubber band and wrap it around to hold the balloon in place
- Next grab as much rice as you would like and pour it into the roll
- Now take your other balloon and do the same to the other side
DIY Drum
What you’ll need:
- Disposable soup cups
- Yarn
- Scissors
- Glue
- Construction paper
- Wooden sticks
- Beads
Instructions:
- First grab one of your cups
- Then take a piece of construction paper fold it in half and trace a circle
- Next, have a grown up help you with cutting out the circles. (You should end up with 2 circle cut outs)
- Now grab your glue and put it around the rim of your cup
- Place one of the circle cut outs on the table and place the cup on top it
- Repeat this step for the other cup
- Next you’ll want to glue the bottom rim of one and glue it to the other cup
- Set it aside to dry
- Grab you sticks, you’ll want to glue one bead on each of the wooden sticks
- Now set aside to dry
- Making sure your drum dry. Take your yarn and glue it around the middle section of your drum
See you at the January Second Saturdays event!
Saturday, January 9
8:30 AM & 10:00 AM
Location:
Virtual Event
Let’s play with light together at our January Second Saturdays.
We’ll learn all about light and how it can be reflected and refracted. We’ll have activities, experiments, and stories all about light! A perfect topic to lift us up from these long dark wintry nights. Join us!
© Twin Cities Public Television - 2020. All rights reserved.
Comments
Read Next
